Split Junk - Part 3 (Sail Details)
Being Part 3 of the Split Junk Trilogy. Part 1 discussed the Split Junk Rig and why I'm excited about it. Part 2 discussed my test build. This part will discuss some particulars about sail panel design and construction.
This post is meant for the few diehards out there into these things, so I'm going to refer to the documention by the Split Junk's creator Slieve McGalliard without elaboration throughout.
My Robot DraftsmanI (regretfully) am not particularly good at drawing. If I could make drawings like the Rig o' Morale, I would. I did a few initial pencil renderings, but once I decided to build one I used FreeCAD. Why? Because it's programmable. I also can't use the CAD GUI interface to save my life. But what I can do is write Python code. Fortunately, besides being free (Rule 1 of Agile Boatbuilding) FreeCAD is programmable. This is great because there are a lot of parameters (mast height, panel dimensions, balance, camber, etc.) that go into a split junk rig. If you write a computer program to draw the rig, you can change these and see the results instantly. Agile.

So I wrote some code to draw the overall sail. The example above is using Slieve's transitional panel design. The model sail used his later simplified panel design as used on Amiina.I ended up using 35% balance per Slieve's recommendation.
Lenses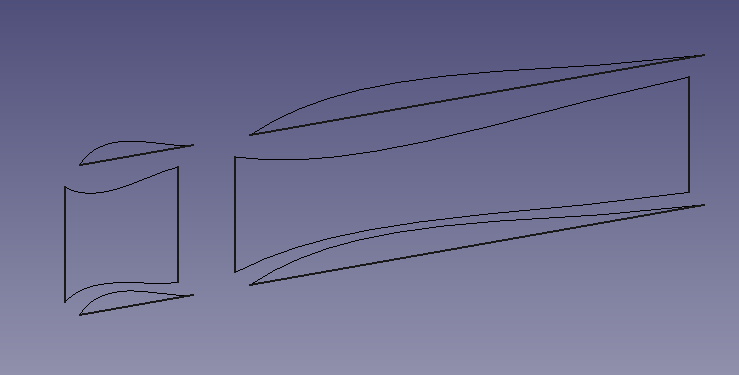
With the overall sail design set, the next step is the detailed dimensions of the panels. Slieve shows several ways to make panels. I chose to use the angled shelf-foot method. As far as I know, I'm the only one dumb enough to try using it for both the jib and main panels. It's more sewing on the main panel, but you can precisely control the shape of the sail and more importantly (for me) it is easier to understand than the methods using broadseam/rounding/etc. It also looks cool if you offset the color of the main panel and lenses.
Again, having the robot draw a bunch of different values and picking your favorite is quite handy. I used 10% camber for the jib and 4% camber for the main panels. A little goes a long way on the mains, given their longer width.
Construction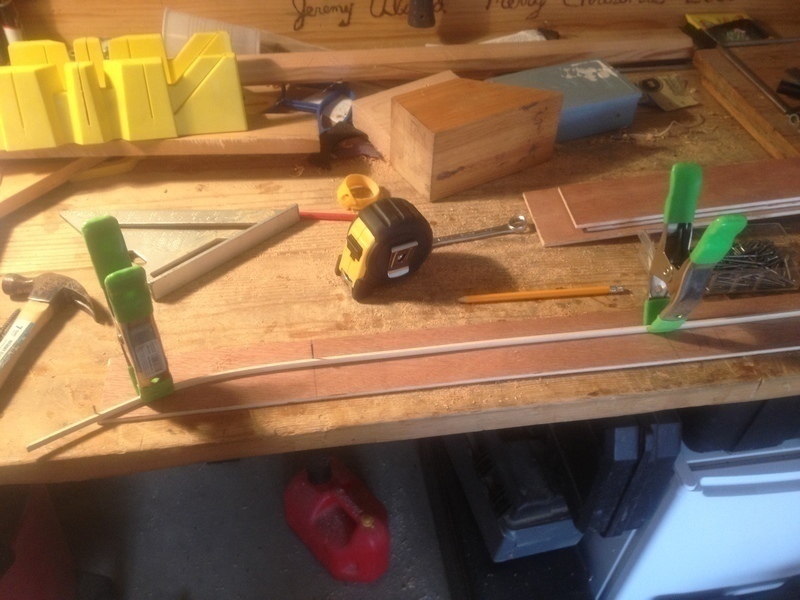
Once the lens shape and camber is settled, it's back to low-tech. My handy robot generates a table of coordinates for the key points on the curve. These can be transferred to a template (as pictured above) or marked directly on the fabric as discussed later.
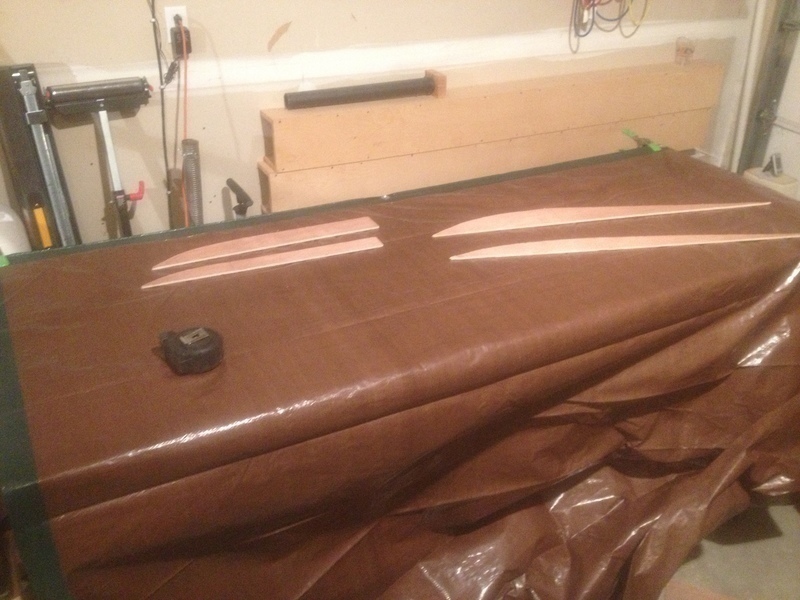
This photo shows all four templates for the lower panels. There are two templates for each part of each panel (jib and main). The reason for this is that you cut the lens out using the smaller pattern. Then the larger template is used for the actual lens. This introduces the camber and gives the sail it's 3-dimensional shape. The angled shelf method works very well for creating this shape.
The astute reader will notice that the jib templates are boxy - they don't taper back like they do in the rendering above. This creates a larger slot effect which enhances airflow across the main panels. I couldn't get the robot to draw this effectively (for reasons involving b-splines that I won't get into here) so I did it on the templates manually.

Once you have the templates, you mark the paralellogram of the sail out and align the templates at the correct angle and draw in the lenses. Skinny lens for cutout, fat lens for the filler panel. I added 2cm seam allowance to all edges, rolled and sewed with two zigzag stitches for strength. Overkill for a model dinghy sail, definitely not agile, but great for learning to sew. Also something you would want to do on a "production" sail.
A rotary cutter works extremely well for cutting the panels and lenses out.
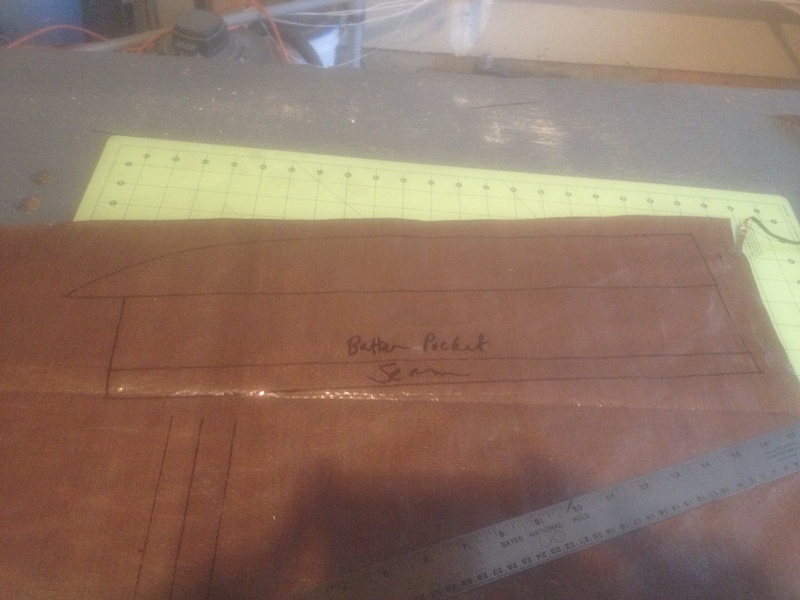
In the above photo, you can see the batten pocket for the bottom edge of a jib.. I made rectangular sections with a seam allowance for the batten pockets. The rectangle wrapped the batten and then I used seam allowance to sew it on. This worked OK.
I did something similar (not pictured) for the rest of the edges, cutting a rectangle to wrap the batten with a 2cm overlap on each side then sewed this over a 2cm overlap on each of the adjoining panels (think of two L's back-to-back with an upside down U over top of them - I'm not picturing it because it's a bad iea). Do not do this. It leaves way too much slack, is hard to layup for sewing, and requires you to sew through four layers of fabric.
I think for the next one, I'll try leaving a large enough overlap for 1/2 the circumference of the batten plus 2cm seam allowance on each panel and sewing the panels right over top of each other. A chafe strip could be added as well for a "production" sail.
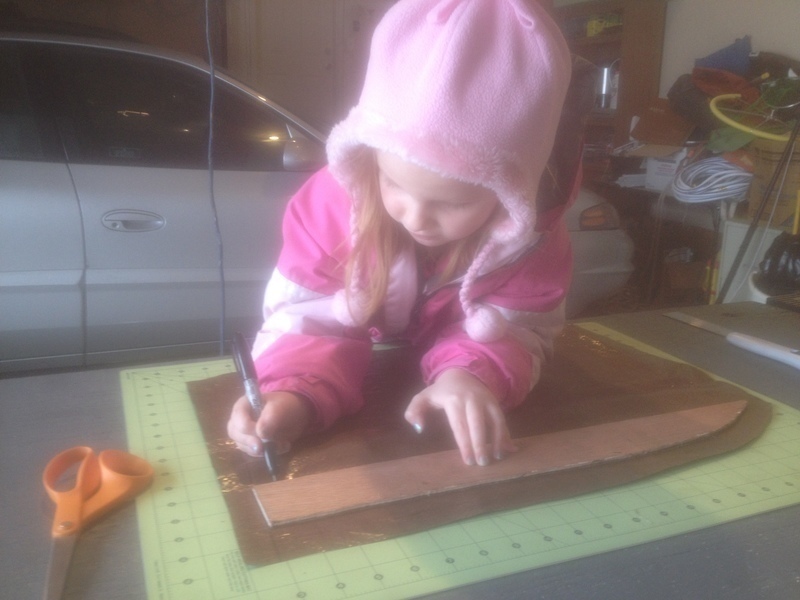
One nice thing about using polytarp for sailcloth is that everyone can join in the fun. If a panel (or 12) gets botched, worst case you're out another $7. By the way, no panels were harmed in the making of this sail (good job Belle!), but if they were I wouldn't have cared.
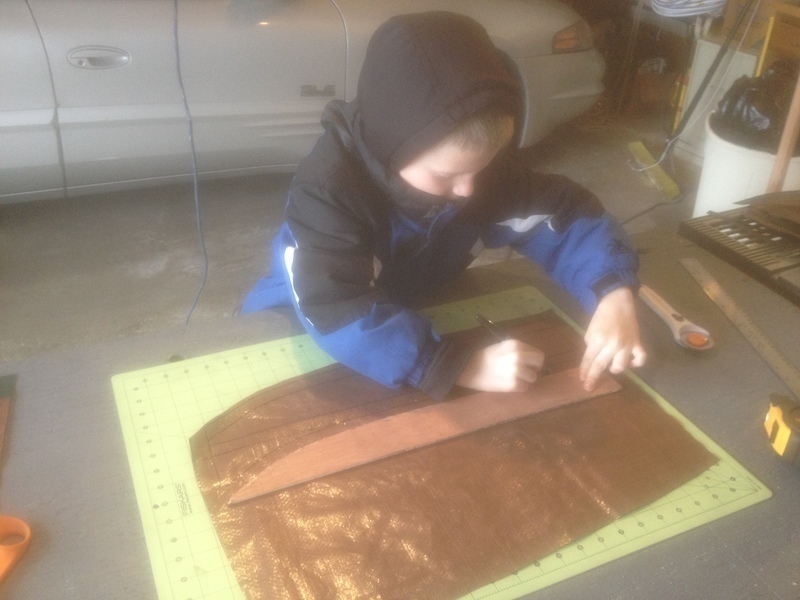
You can't get accused of using sweatshop labor in Minnesota.
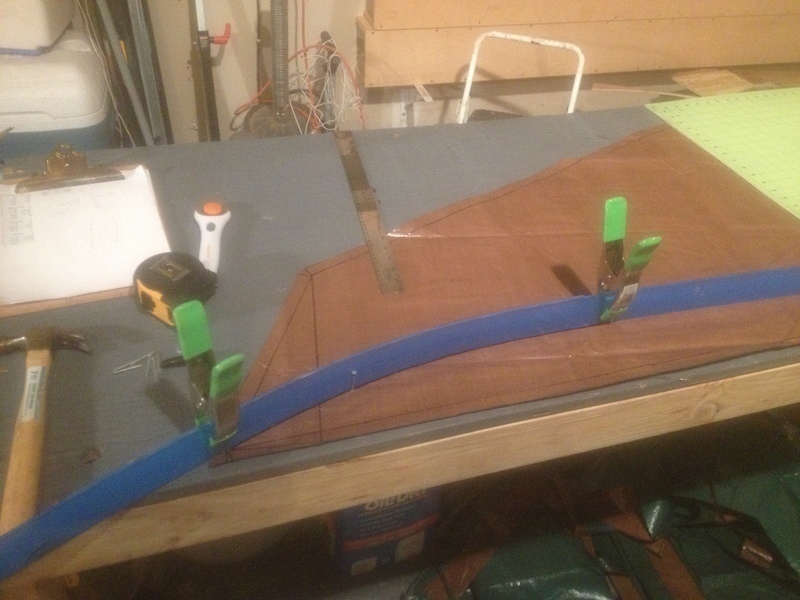
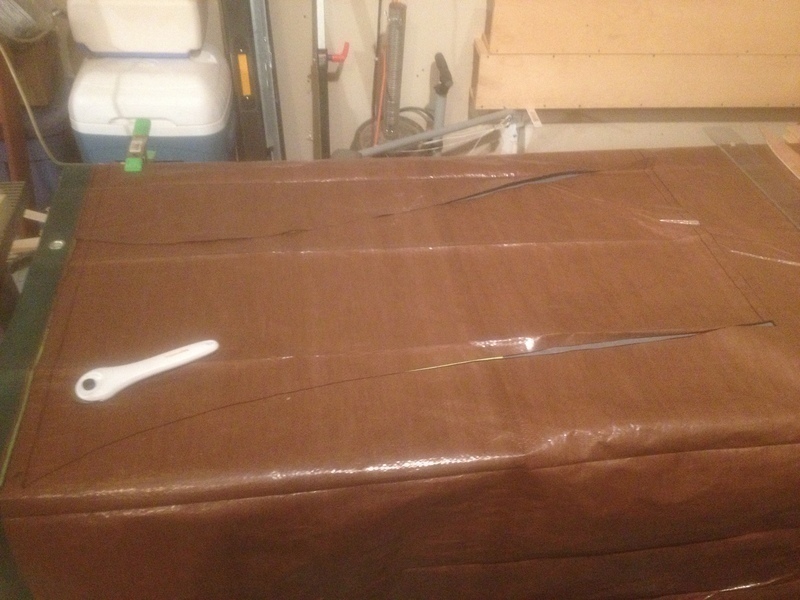
I did not make lens templates for the top panel. It was worth the effort for the lower panels since there are several of them. For the top, I just drove finishing nails through the tarp. Make sure your wife's nice cutting mat is not under the sail before doing this, FYI. Then I used a batten to draw the lenses as shown. This was fast enough that I would consider doing it for all the panels next time, especially on a larger sail where templates would be more unwieldy.
The next phase involved lots (and lots) of sewing, which is not exciting to see pictures of.
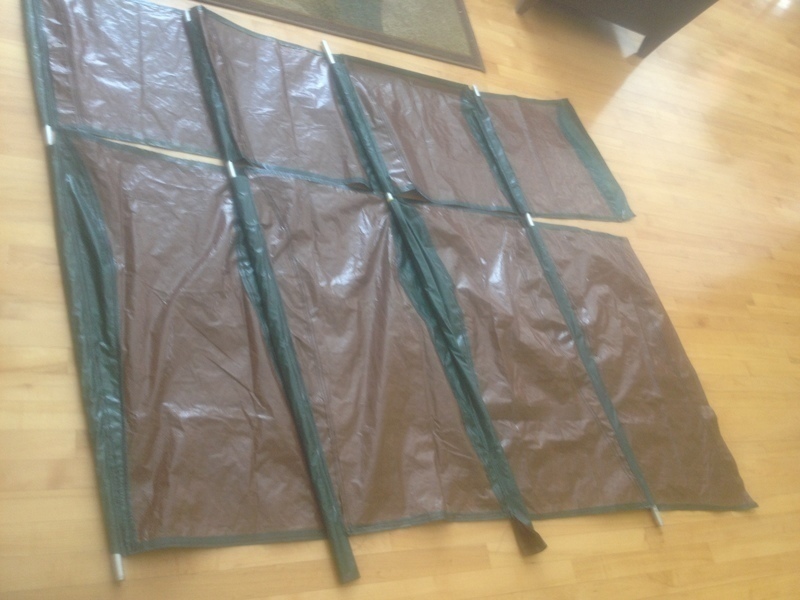
Laying out the finished panels on the living room floor. You can see I hadn't trimmed all the batten pockets yet. You can also see the slack around the batten pockets. Bad form.
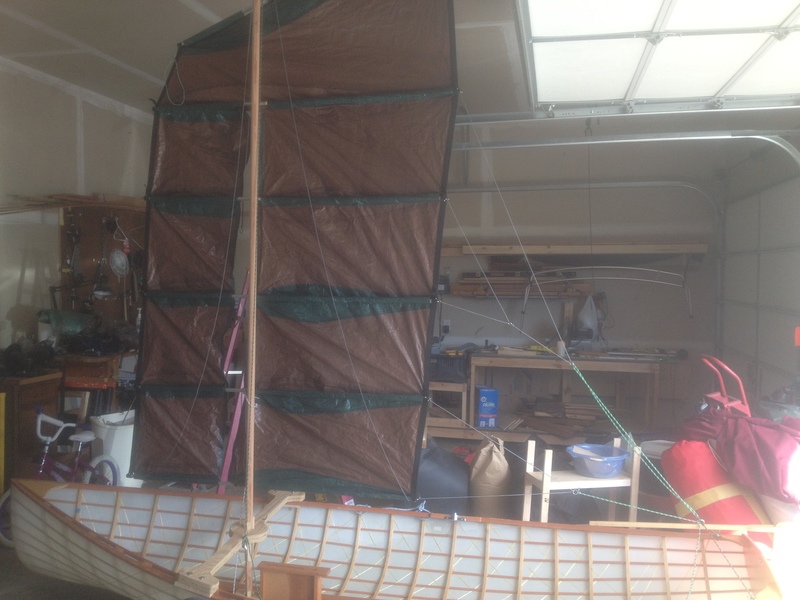
And one last (redundant) look at the finished product. Not bad for a tarp... One detail visible here is the black webbing along the luff (front edge) of the jibs and leech (back edge) of the main panels. This was added last to take all the strain off the fabric seams. The halyard pulling up and downhaul pulling down can exert a fair bit of tension. The webbing has loops sewn around each batten so in theory the tension should travel continuously down the webbing and not stress the fabric. In practice this is only true if you align the loops corrently. If there is any slack, the fabric still takes load. This was one side-effect of the sloppy batten pockets. I had to remove the loops and sew them all a bit higher to correct this. I would also put webbing along the luff of the main panels as well. It is not a good idea to web the back edge of the jibs, as they are cut hollow and it would ruin the shape.
SynopsisIf you've made it this far in the trilogy, hopefully you agree that the Split Junk Rig breathes new life into an ancient (and already excellent) sail planform. It's simple in concept, maybe a little complicated in implementation but in a good way on both counts. It's hard to say which part was more fun: designing, building, or the trial sail. I enjoyed them all.
What's Next?In case you haven't picked up on it, Dave Zeiger's Rig o' Morale is what inspired me to actually write this up. I'm very intrigued by his crab-claw strut concept for the top panel and may have to modify the robot draftsman (I should really give him a name like Jarvis or something) to render that. I also need a better hull for rig experiments (see another idea in Part 2). Given infinite spare time I'd like to do a Split Junk Rig vs. Balanced Lug bake-off ala Tom Colvin. I'm sure Bob would approve. I could probably do the sails for under $100. Polytarp for the win!
In reality, the "real boat" project list is quite long. But most of that stuff has to wait until spring. Hmm...
An OfferIf anyone is interested in building a Split Junk, I'd be more than happy to have the robot spit you out some pictures. In the unlikely event a deluge of requests comes in, I'd even clean it up and throw it on github. Drop me a line if you're interested.
blog comments powered by Disqus
About Me
Subscribe
to this weblog'sRecent Articles
Split Junk - Part 3 (Sail Details)Split Junk - Part 2 (Test Build)
Split Junk - Part 1 (Background)
Best Books of 2013
How to Create a Histogram with SQL